
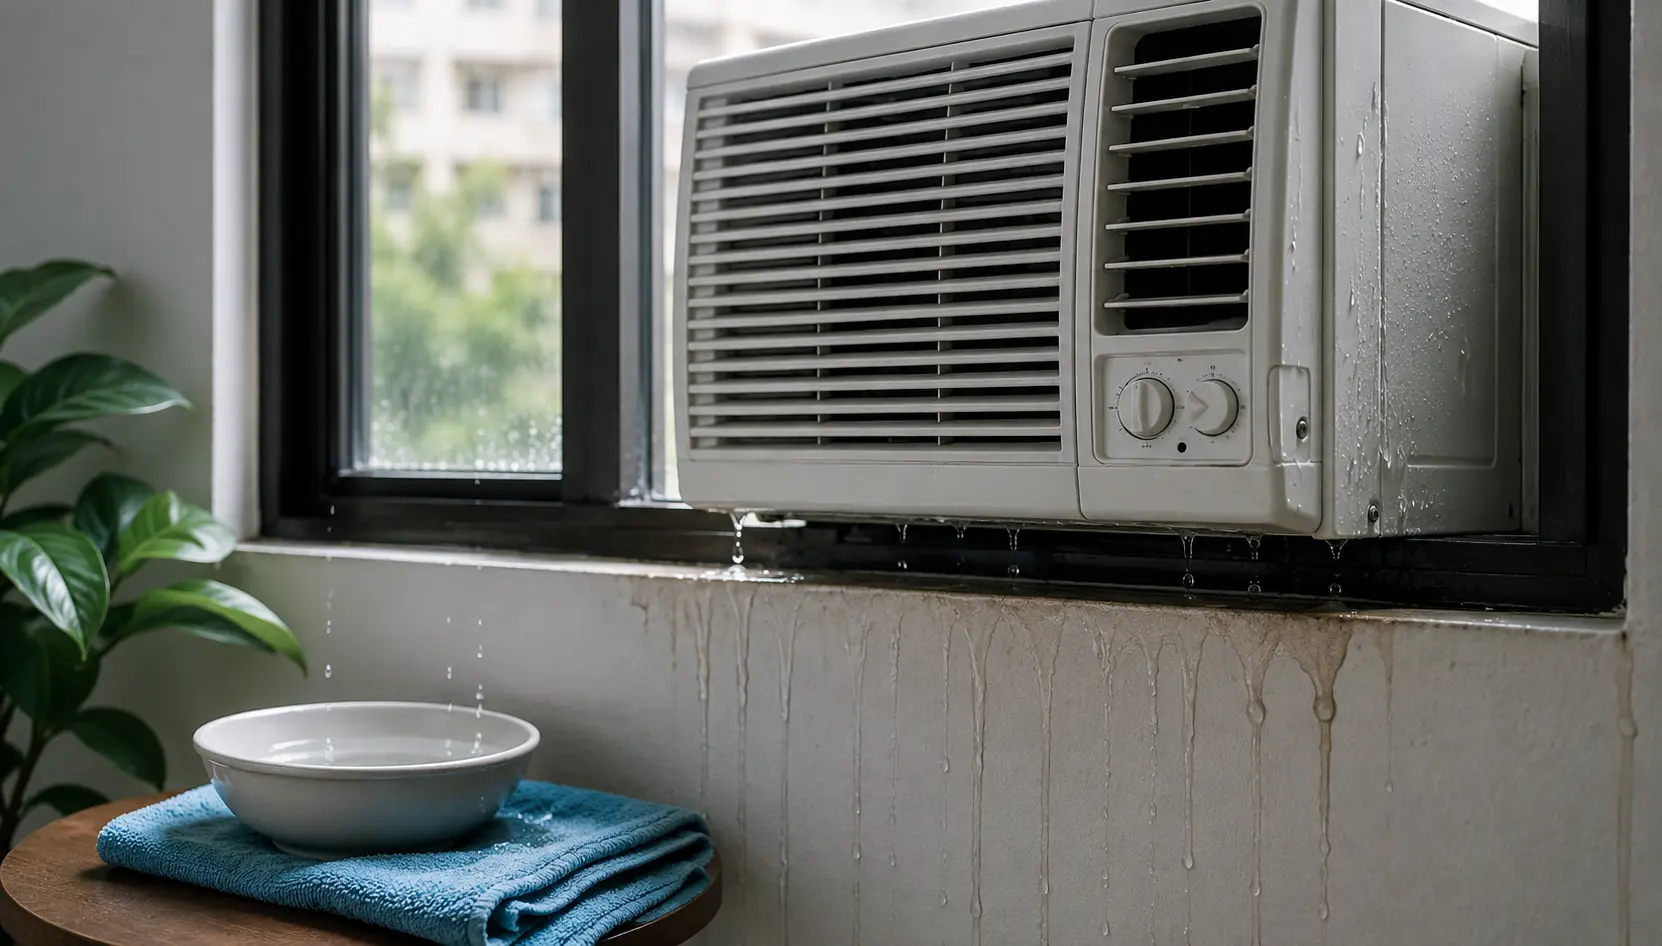
A window air conditioner leaking water is usually caused by a tilt problem, a clogged drain, or a dirty air filter. Fixing the tilt or clearing the blockage solves most cases in under an hour. Read on to find the exact cause and the right fix. Read this blog if you are asking, "Why is my window AC leaking water?"
A window air conditioner is a metal box that sits in your window. It pulls warm air from inside your room, cools it down, and pushes cold air back in. As it cools the air, water droplets form inside the unit. This happens the same way dew forms on grass in the morning.
The unit is designed to send this water outside automatically. A small drain system carries the water down and out through the back of the unit. When everything works right, you never see this water. It simply drips into the ground outside.
Think of it like a sponge squeezing out water. When hot, wet air passes over the cold cooling coils inside the unit, moisture comes out. This is not a sign of a problem. This is normal operation. The problem only happens when the water does not drain away properly.
Your AC makes different amounts of water at different times of year:
| Season | Humidity Level | Water Production | What to Expect |
|---|---|---|---|
| Spring | Medium | Light drips | A few drips per hour |
| Summer | Very high | Heavy flow | Steady stream on hot days |
| Fall | Medium | Light drips | A few drips per hour |
| Winter | Low | None or minimal | Rarely any water |
Reason 1: The Unit Is Not Tilted Correctly
A window unit must be tilted slightly backward. The slanted design allows water to drain towards the outside and away from your home. Water collects inside the unit and spills onto the floor whenever the unit is tipped forward or unlevel.
Fix: Check the tilt with a small level. The back of the unit should sit about half an inch lower than the front.
Reason 2: Drain Holes Are Blocked
Small drain holes sit along the base pan of the unit. Dust, mould, and debris can block these openings over time. Once blocked, water has nowhere to go except back into your room.
Fix: Use a thin wire or pipe cleaner to clear out the drain holes gently.
Reason 3: The Air Filter Is Dirty
A clogged filter blocks normal airflow across the cooling coils. This causes the coils to get too cold and frost over. When the frost melts, it creates more water than the drain pan can handle.
According to the U.S. Department of Energy, dirty air filters can decrease AC efficiency by 5 to 15%. In fact, these air filters are one of the leading causes of premature coil failure.
Fix: Clean or replace the filter every month during heavy use.
Reason 4: The Unit Is Not Installed Properly
A unit that’s not installed correctly tends to leak no matter what. The humid air gets inside the unit through the gaps around the frame.
Fix: Reseal the window frame with weatherstripping or foam insulation strips.
Reason 5: Extremely High Humidity
On very humid days, window air conditioners leaking water happens more often because the unit works harder to pull moisture from the air. This is normal to a point, but a well-draining unit should still keep water outside.
| Situation | Normal Drainage | Problem Drainage |
|---|---|---|
| Season | Hot, humid months | Any time, no pattern |
| Amount | Small drips outside | Pooling inside your room |
| Filter | Clean | Clogged with dust |
| Tilt | The unit slopes backward | The unit is level or forward |
| Drain Holes | Clear and open | Blocked with debris |
| How to Fix | Usually no fix needed | Must clean or adjust |
Step 1: Turn Off & Unplug the Unit (5 minutes)
Step 2: Inspect and Clean the Filter (10 minutes)
Step 3: Check If the Unit is Tilted Right (10 minutes)
Step 4: Clear the Drain Holes (10 minutes)
Step 5: Seal the Gaps Around the Unit (15 minutes)
Step 6: Test Your Unit (15 minutes)
Over the years, HVAC professionals learn tricks that homeowners do not know. Here are some of their best tips:
| Tip | What to Do |
|---|---|
| 1. Use a Level | Check the AC’s tilt with a level instead of guessing. |
| 2. Clean the Filter First | A clean filter can improve airflow and may prevent leaks. |
| 3. Check Drain Holes | Inspect and clear drain holes regularly with a thin wire. |
| 4. Keep Service Records | Record service dates, cleaning, and AC performance to spot patterns. |
| 5. Avoid Harsh Chemicals | Use plain water or AC-approved coil cleaner; avoid bleach or vinegar. |
| 6. Listen for Changes | Unusual noises can signal fan, motor, or other mechanical problems. |
Sometimes a leak means something more serious is wrong. In these cases, you should call a trained technician instead of continuing with DIY fixes.
Your AC Still Leaks After Your Fixes
If cleaning the filter, checking the tilt, and clearing the drain holes do not stop the leak, call a professional to find the problem.
You See Oil Stains or Refrigerant Leaks
Oil stains near the outdoor drain mean refrigerant is leaking. Handling refrigerant requires an EPA Section 608 certification because it is illegal and dangerous.
The Drain Pan Is Cracked or Damaged
If the metal pan at the bottom has holes or rust, water will escape. A professional can replace it.
Strange Smells or Sounds Come from the Unit
Bad smells might mean mould is growing inside. Strange sounds might mean the motor or fan is breaking. Call a technician to diagnose these problems.
Water Leaks from the Electrical Box Area
If water is coming from the electrical parts, stop using the unit and call a technician right away. This is unsafe.
The Unit Is Old or Under Warranty
If your AC is under warranty, doing repairs yourself might cancel the warranty. Check your paperwork. If you have a warranty, call the warranty service or the manufacturer before you make any repairs.
Calling a professional costs money upfront, but it prevents expensive damage later.
| Question | What to Consider |
|---|---|
| 1. How Old Is the Unit? | Units under 5 years are usually worth repairing. Units over 10 years with multiple issues may need replacement |
| 2. What Is the Repair Cost? | Compare DIY costs ($10–$50), professional repairs ($100–$300), and replacement ($300–$1,000+). |
| 3. Are There Other Problems? | If leaking is the only issue, repair may be best. Multiple problems may indicate replacement is better. |
| 4. Is It Under Warranty? | Check your warranty before paying for repairs; coverage may reduce or eliminate the cost. |
A leaking window air conditioner is frustrating, but the solution is usually simple. Most homeowners can fix their own AC leaks using basic tools and this guide. The key is to start with the most common causes: tilt, filter, and drain holes.
If you live in Philadelphia and you prefer professional service for your window air conditioner leaking water issues, or if you need air conditioner repair in Philly, CALL COOL-AID CO. Their professionals are licensed, which means they can correctly diagnose leaks and will get it right the first time. This prevents water damage and protects your investment. Whatever the choice to fix it yourself or call the experts- the end goal is the same: a cool, dry, comfortable house all summer long.
A window air conditioner leaking water is often caused by a clogged drain, poor tilt, or dirty filter. They can be fixed by adjusting the tilt, cleaning the filter, or clearing the drain holes—but which hidden problem is causing yours?